One of my favorite obsessions, and to be honest I have so many it gets hard to keep track, but one of my favorites is Pinterest! I've had an account with them for a little while now, but so far I had only "Liked" or "Re-pinned" about a million things and had not even attempted any of the numerous DIY crafts that I had spent so many hours looking at! (I would like to add, that I have tried plenty of recipes so far, but no crafts! Just clarifying)
I knew something needed to been done about that immediately and I also knew that I wanted to blog about it.. in came my first Pinterest inspired craft: Salt Dough Ornaments
It had everything I liked to blog about: baking, food ingredients, cute stuff.. but it was also a fun, easy to do craft!
If you are bored and you like to bake, this is a neat thing to do that doesn't require a lot of skill (thank goodness!) You just need three ingredients to get started!
Salt Dough Recipe
Ingredients:
2 Cups Flour
1 cup Salt
1 cup water

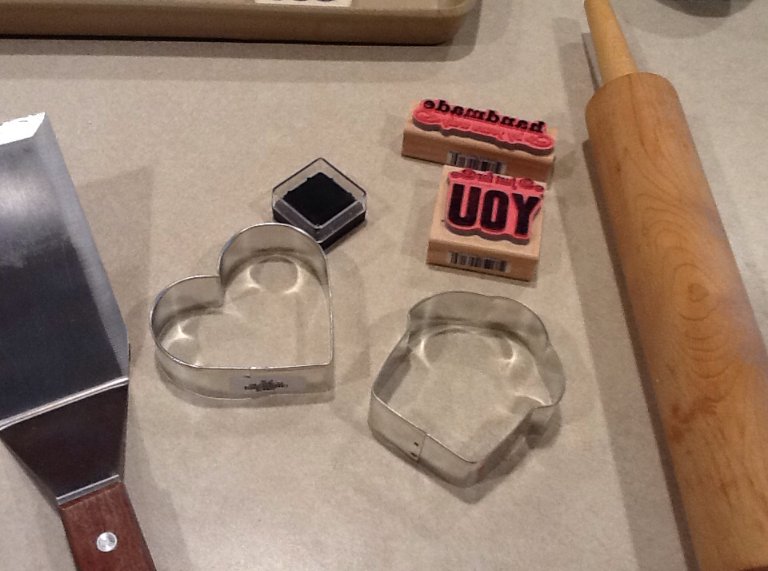
For the Supplies:
Rolling Pin
Stamps and Ink
Cookie Cutters
Spatula
Sand Paper
Directions:
In a bowl, add the flour...

the salt and the water.

Knead the mixture together until the dough forms. It will feels grainy and very different from what you are use to! It is because of the WHOLE cup of salt!

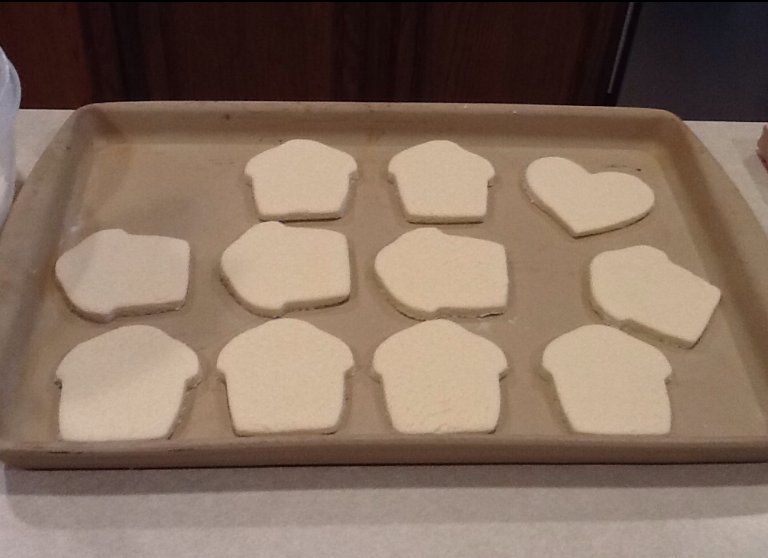
Roll out your dough to about 1/4 in. thickness.

Cut out your design: I choose a cupcake cookie cutter my husband got me for Christmas...

I also cut out a heart.. just because!
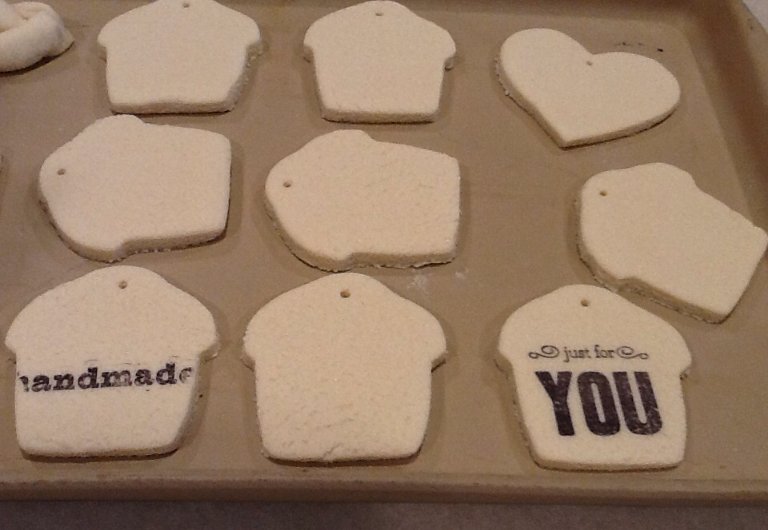
Since this was all just experimental anyway, I decided to try stamping a couple of the "ornaments".
The next step was where I had trouble, after I made, rolled and cut out the dough, I read the rest of the directions. You are suppose to bake the ornaments at 200 degrees for 6 hours.

Well, I decided to try and cut that time down, so I baked them for 1 hour at 200 and then cranked the oven up to 400 degrees for another 2 hours or so.
While the ornaments turned out okay, some of them were a little puffed up in the middle, and I think that was because I cooked them too high.

After you take them out of the oven, let them cool. Take a piece of sandpaper or a sturdy file and file down the rough edges.
So, if you plan on wasting away the afternoon doing something crafty, this project doesn't let you down; just make sure you have enough time to do it right!
I still have to paint the little guys (everyone keeps asking me if they are little houses, so I definitely need to paint them to make them look like cupcakes!), but I still have to go into town to get some pretty paint...
If I get a chance to do it soon, I'll post the pictures, but I also think with a little clear varnish and a pretty ribbon hanger, they could be neat just the way they are...
No comments:
Post a Comment